Thanks to 3D printed technology being developed these years, we can now produce versatile plastic parts in easier and faster way, however, just like all technology, each has its limitation, in 3D printing, the accuracy of still a problem, so before we use the part produced by 3D printing, we need to do some thing
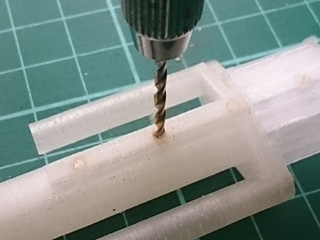
First is to re-drill screw hole on 3D parts, diameter of hole on 3D parts is most difficult thing to control, it's varying with temperature drift in production line, re-drill it with correct drill bit, and you can have nice and correct hole for screws,
the following is the list of diameter of hole for different screws,
2mm screw : 1.6mm 2mm tapping screw :1.6mm 3mm screw: 2.6mm 3mm tapping screw: 2.6mm
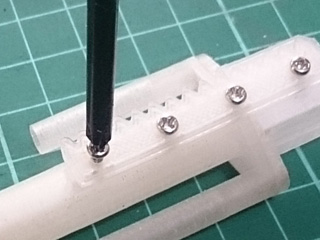
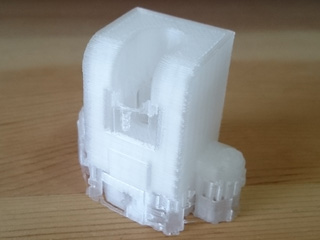
2nd, to trim flash on first layer. In order to stick parts on platform of 3D printer during production, we usually increase flow of 1st layer or create flash in purpose, just to use cutter, smooth grater(file) to trim it as other plastic model parts.
Before:
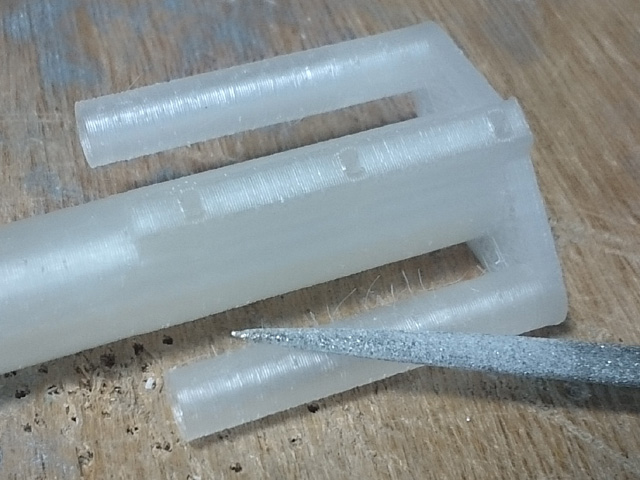
After trimming :
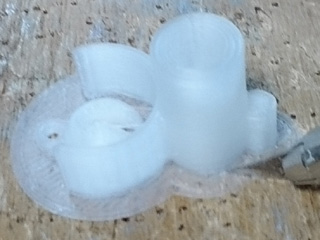
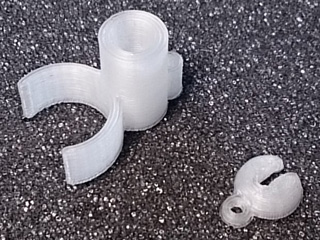
3rd, to remove support material. Because parts can not build in the air, sometimes we need support material to support part during production, to remove it is not difficult too, to peer it off like onion, trim surface with smooth grater (file).
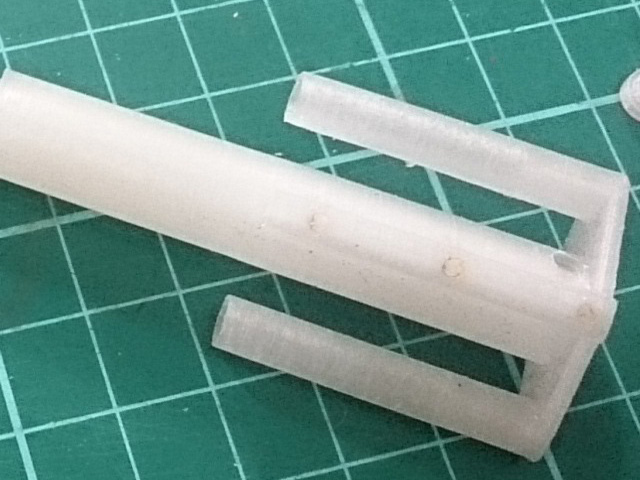
4th, to polish surface. One of the drawbacks of the FDM (FFF) 3D printed parts that the surface is not totally smooth to the touch, you can see and feel the texture created by the layer by layer printing by extruding the thermoplastic material. Lucky, it not a problem to modeler, just use sand paper or smooth file to sand it few times and you will creates a smooth and glossy looking surface. and you don't have to do this for every parts, only contact surface of moving parts.
Before sanding:
After sanding:
Conclusion, these are all you need to know and to do before assembley , you can now enjoy the conversion kit we produce for your models.
|